
How-To
Properly installing the head filter cloth on your filter press is crucial to your equipment’s performance. Below is a list of tools needed, a how-to video and, step-by-step instruction to help you through the process.
TOOLS NEEDED
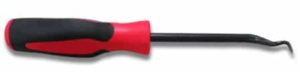
- Awl
- (Very) sharp razor blade or a hot knife tool
- Sharpie
- Air Hammer
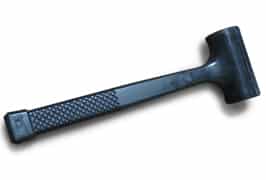
- Hammer (we highly recommend an air hammer)
>> Air hammer / Product number: 40000235
>> Dead blow hammer / Product number: 40000026
Video: HOW TO INSTALL A HEAD FILTER CLOTH
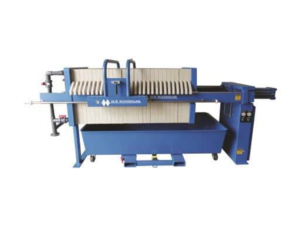
FILTER PRESS HEAD CLOTH REMOVAL & INSTALLATION INSTRUCTIONS
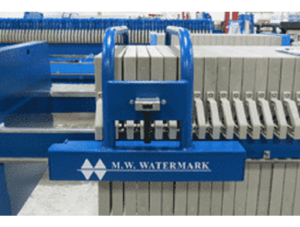
Before you begin, make sure the other filter plates have been pushed to the other end of the filter press (or removed) so you have enough room to work.
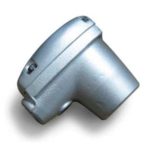
1) Unscrew the clip nut from the center feed piping.
2) Using an awl, pull the filter cloth away from the top of the plate (starting in the center).
3) Pull the filter cloth away from the plate.
>> Make sure your filter plates have been power washed and cleaned before installing new filter cloths!
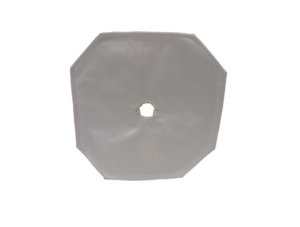
4) Line up the new filter cloth on filter plate, cake side out, aligning the product number at the top of the plate.
5) Beginning with the corners of the filter plate, use your hammer to tack the filter cloth in place.
6) Continue tacking around the sides, smoothing out any bumps in the filter cloth.
7) Once the filter cloth has been installed, use your hand to apply pressure to the cloth to find the outline of the center feed hole.
8) Use your sharpie to trace the center feed hole.

Trace centerfeed using sharpie
9) Using a very sharp razor blade or hot knife tool cut along the traced line; be very careful to not snag or fray the filter cloth
>> TIP: If you are cutting your cloth hole outside of your filter press you can use an old cloth as a template to trace center feed hole with a hot knife tool
10) Screw clip nut back on center feed piping until tight.
Check out the video above to watch our service tech do a seamless installation.